 Pin It
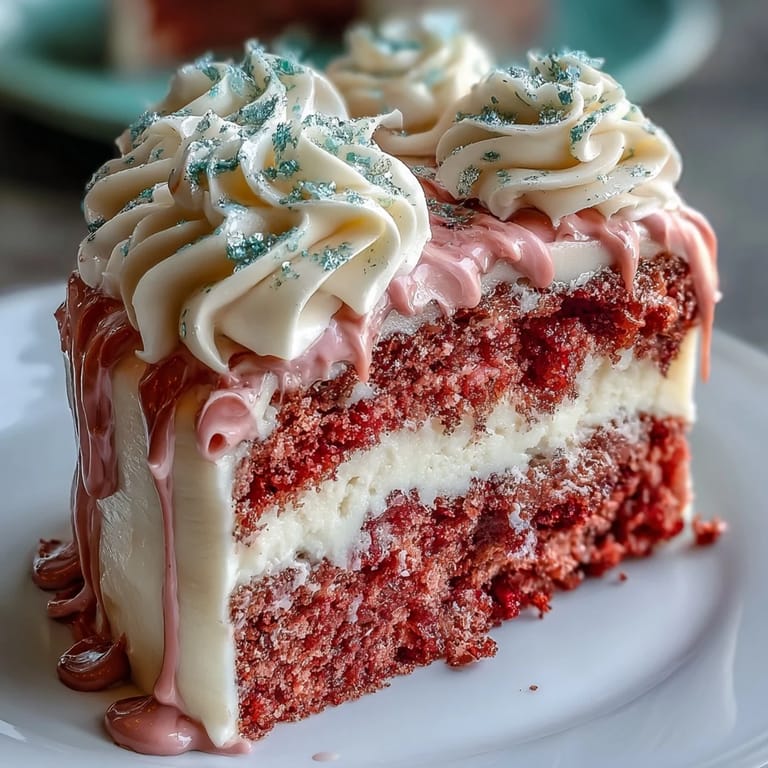
 The first time I walked into a room carrying this blush-pink Rosé Velvet Cake, the sunlight caught the silky gold drip just so, setting the entire dessert aglow. Floral notes from the rosé gently perfumed the kitchen, hinting at something special before a single slice was served. There’s an unmistakable hush when a cake this pretty is unveiled, broken only by a few excited whispers and the clink of forks soon after. Crafting it always feels like a celebration—even if it’s just a random Wednesday and I’m stress-baking with the windows open to let the spring breeze in.
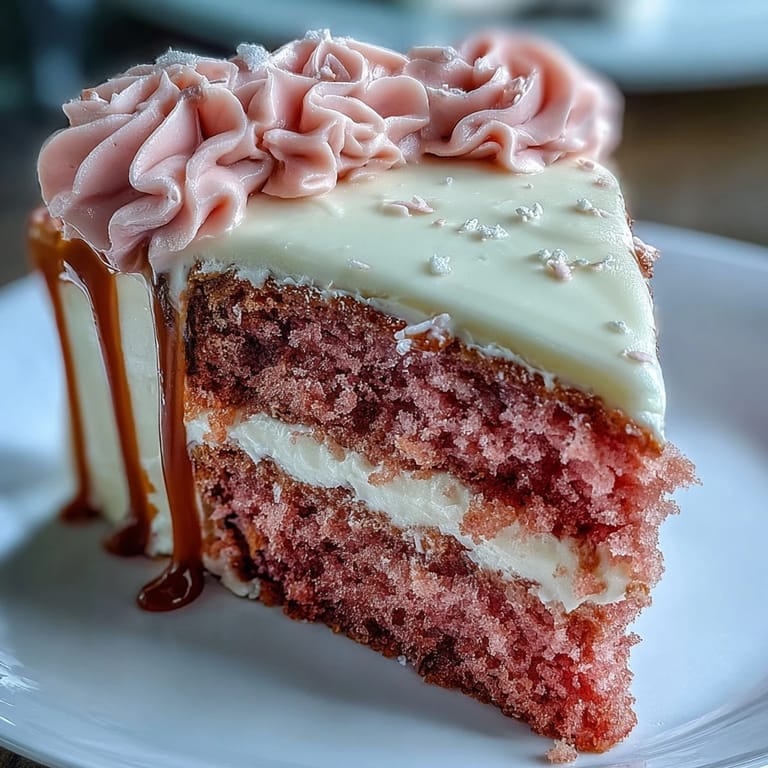
Not long ago, I baked this showstopper for my best friend’s bridal shower, and it instantly stole the spotlight from the bubbly toasts. When we sliced into it, blush tiers and delicate frosting revealed themselves, and everyone paused to admire it before diving in—one of those rare, sweet silences you never forget.
Ingredients
- All-purpose flour: I’ve learned that scooping and leveling the flour keeps things light—dense cakes usually meant I’d packed it in too tightly.
- Granulated sugar: Casts a fine sweetness over every bite, and creaming with butter until truly fluffy does wonders for the crumb.
- Baking soda and baking powder: Both lend lift, making sure each layer stays plush; double check dates for best results.
- Salt: Just a little sharpness draws out all the other flavors, so don’t skip this pinch.
- Unsweetened cocoa powder: It deepens color and adds background richness—best sifted for lump-free batter.
- Unsalted butter: Room temperature makes for airy blending; cold butter never does the trick here.
- Buttermilk: Gently tangy, it tenderizes every bite; I let it sit out for a few minutes so it’s not chilly from the fridge.
- Rosé wine: Subtle and aromatic, not too sweet; leftover in your glass is the baker’s treat.
- Eggs: Room temp avoids curdling and helps everything blend seamlessly.
- Vanilla extract: Use real vanilla for deep aroma—it forms the cake’s warm, familiar base.
- White vinegar: It’s a red velvet secret for tang and a fluffier rise; measure carefully, as a little goes a long way.
- Pink food coloring gel: Gels create the perfect delicate blush without watering down your batter.
- Cream cheese: Softened for the smoothest, silkiest frosting—no lumps allowed.
- Powdered sugar: Always sift for a cloud-like finish that blends in effortlessly.
- Heavy cream: Necessary for a drip that’s the right consistency—rich but still pourable.
- White chocolate chips: Melt smoothly for the base of the elegant drip—careful with heat to keep it glossy.
- Edible gold luster dust and vodka or clear extract: The finishing touch—use a steady hand and a soft brush for the best shimmer.
Tired of Takeout? 🥡
Get 10 meals you can make faster than delivery arrives. Seriously.
One email. No spam. Unsubscribe anytime.
Instructions
- Pans at the ready:
- Preheat oven to 350°F and line three 8-inch round cake pans with parchment. The scent of warm pans always tells me something special is happening.
- Sift & mix dry:
- Combine flour, cocoa, baking soda, baking powder, and salt in a bowl; the grains feel pillowy and soft in your hands.
- Cream to cloud-light:
- Beat butter and sugar until pale and almost doubled in volume, about 3 minutes—music helps pass this step joyfully.
- Add eggs & vanilla:
- Crack in eggs one at a time, blending well after each for silky smoothness; pour in vanilla and marvel as the scent deepens.
- Wet ingredients in:
- Stream in buttermilk, rosé, and vinegar, letting them infuse in turns so nothing curdles—the batter should blush as it stirs.
- Dry meets wet:
- Add flour mixture in stages, mixing gently until just combined—over-mixing risks a tough cake!
- Color for joy:
- Fold in pink food gel gradually; stop when it’s soft and inviting, like the inside of a shell.
- Bake & cool:
- Divide batter evenly, bake 30–35 minutes until a skewer comes out clean, then turn out cakes to cool on racks—don’t rush this or layers may tear.
- Frosting time:
- Beat butter and cream cheese until pillowy, then sift in powdered sugar; add rosé, vanilla, and salt, beating until light, fluffy clouds form.
- Build & layer:
- Level cakes if needed, stack with generous frosting between each, and chill after the crumb coat—patience here leads to smooth sides.
- Gold drip magic:
- Melt chocolate and cream together in short bursts, let cool, and spoon along cake edges; watch the drips set, then paint with gold luster for sparkle.
- Final chill & serve:
- Chill at least 30 minutes so flavors meld and the drip sets—after that, all that’s left is applause (and eating).
 Pin It
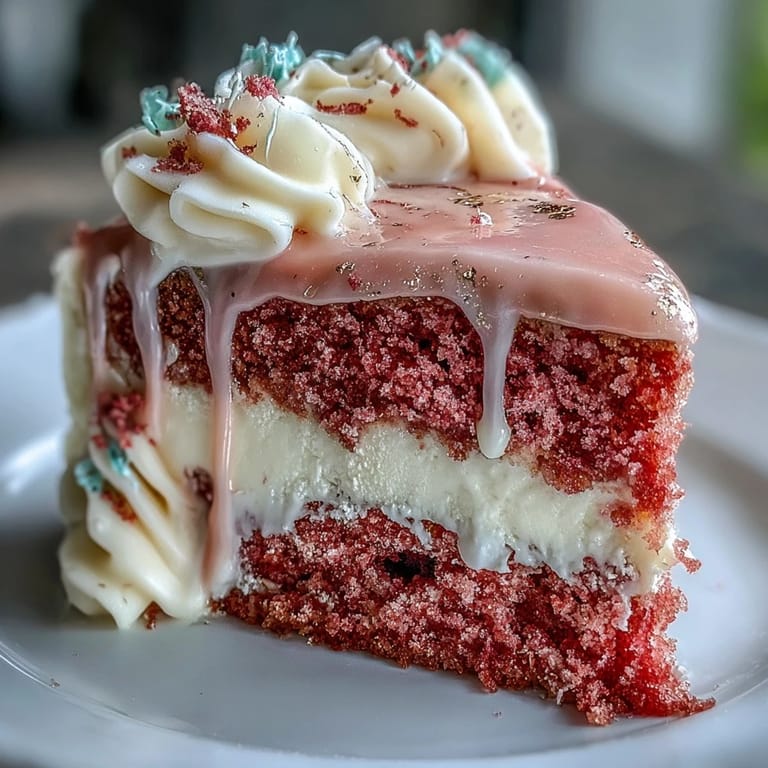
 The day this cake made its debut at my cousin’s garden party, I caught her little niece sneaking extra frosting with her finger—proof that beauty and taste can absolutely go hand in hand.
A Few Decoration Ideas That Always Wow
Trying different decoration accents keeps this cake fresh for every event: a wreath of edible flowers adds romance, gold leaf brings glamour, or a scattering of berries offers a playful hint of color. The shimmer from the gold drip never fails to get a few oohs and ahhs, no matter how many times I make it. Even when my hand isn’t steady, the finished effect always manages to feel celebratory.
Easy Swaps and Dietary Tips
If you want to make this cake alcohol-free, sparkling grape juice stands in perfectly for rosé and keeps the flavor bright. For guests with allergies or sensitivities, swapping out chocolate with a soy-free brand and double-checking all your extracts means everyone can enjoy a slice worry-free.
When Things Get Messy (And Why That’s OK)
Cake crumbs on the counter and streaks of pink frosting on the apron are all part of the fun. I once got distracted mid-bake and added the food coloring too early, but it still came out beautiful—the blush was just a little bolder. The best moments in the kitchen are usually the imperfect ones.
- If the frosting feels too soft, chill it for a few minutes.
- Make gold luster paint just thick enough that it won’t drip down the cake.
- Don’t stress over uneven layers; that’s what extra frosting is for.
 Pin It
 This Rosé Velvet Cake is a celebration all on its own—whether you’re toasting a bride or just making today a little brighter, you’ll be glad you went all out.
Recipe Questions & Answers
- → How can I intensify the rosé flavor without making layers soggy?
Brush cooled layers sparingly with a few teaspoons of reserved rosé or a light rosé syrup. Apply thin, even passes and allow each layer to absorb before assembling to avoid excess moisture that can collapse crumbs.
- → What’s the best way to achieve a consistent blush color?
Use gel food coloring in small increments and stir between additions. Gel gives vivid color without thinning the batter; stop when the desired blush is reached to avoid overmixing and density changes.
- → How do I get a glossy, stable gold drip?
Warm white chocolate with cream to a smooth ganache and cool to room temperature so it’s pourable but not runny. Apply to a well-chilled cake for controlled drips, then paint with gold luster mixed with a touch of clear extract for shine.
- → Can I make a non-alcoholic version with similar flavor?
Substitute sparkling white grape juice or non-alcoholic rosé for the wine in both batter and frosting. For a brighter note, add a teaspoon of extra vanilla or a splash of grape juice reduction for concentrated flavor.
- → How should I store and transport the finished cake?
Keep the cake refrigerated in a box or cake carrier to protect the gold finish. Chill before transport to stabilize the layers; allow it to come to cool-room temperature 20–30 minutes before serving for best texture.
- → Any tips for clean slicing and presentation?
Chill the cake until firm, then use a hot, dry knife wiped between cuts for smooth slices. Serve on chilled plates and consider finishing slices with berries or edible flowers for an elegant touch.